How to Change Your Motorcycle Battery
The battery is an essential part of any motorbike and you need to take care of it to get the most out of it. If you’re an experienced rider, you probably know the importance of good maintenance, but new riders may need some pointers to help them along the way.
Have a read of our earlier post on Motorcycle Batteries: The Need-to-Knows. Below, we explain how to change your battery and what methods to use to get the most life out of it.
When do you need to change the battery?
It’s often the case that a battery is only changed when there is a problem, such as it not being able to start the engine. Riders who think ahead may opt to replace a battery every 3-5 years to avoid having to deal with a sudden breakdown. Different usage levels, maintenance and environmental conditions all play into the longevity of a battery, so there is no set time period as to when you will need to change it. But there are signs to be aware of, the most common being a reduced cranking speed on cold winter mornings, especially if it reoccurs soon after charging the battery.
How to Change a Battery
Changing the battery on a motorcycle is a pretty straightforward process.
Below, we go through what you need to do step-by-step.
Get the correct battery
Not all batteries are created equal and it’s important to know which one to buy. Check the bike handbook or manual to ensure you buy the right one. Or, if you are not that technically minded, you can ask someone at a local bike shop to pick out the right one for you. Wherever you choose to buy the battery, make sure it’s a trusted source so you are not buying a low-quality version that is not worth the money.
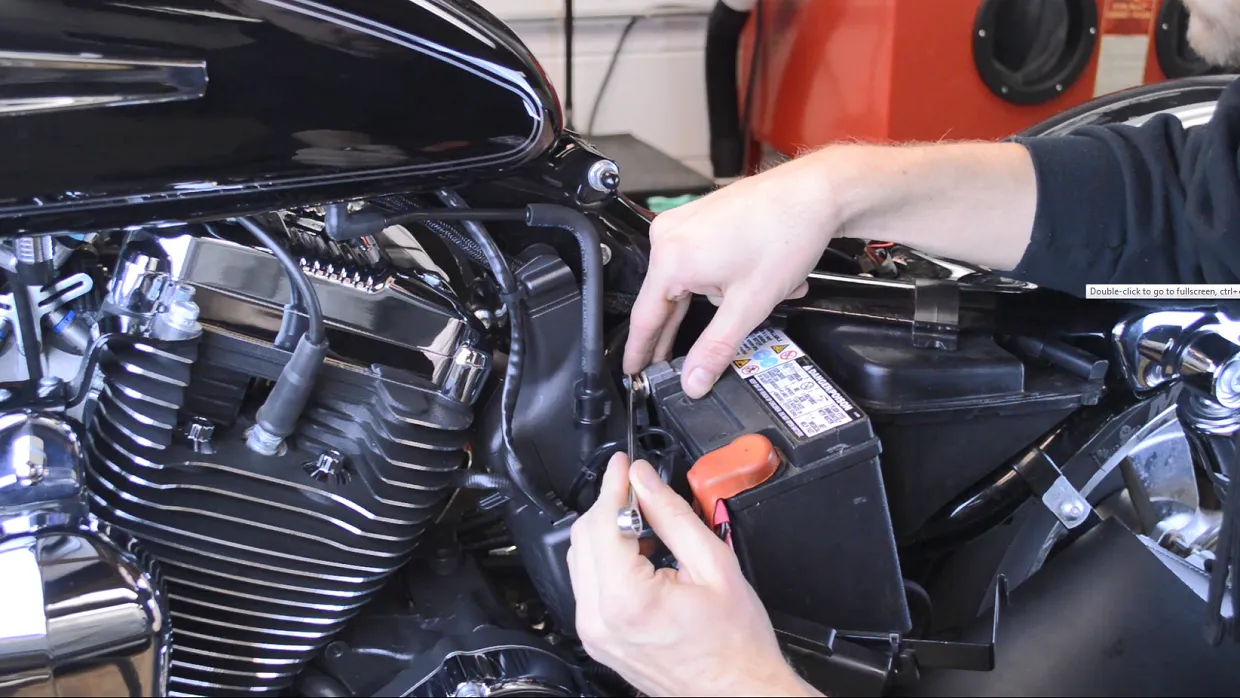
Remove the battery
The first thing to do is to locate the battery. In most cases you will find it under the seat or behind a side panel, but not always. If in doubt, and to familiarise yourself with any particular requirements for removing the battery on your bike, consult your owner’s handbook or manual. Before you start make sure the bike is turned off. If the battery is held by a rubber strap or a bracket or has a cover, release or remove it, and if necessary move the battery for best access to the terminals. Always disconnect the lead from the negative terminal first, followed by the positive, and then remove the battery. Be aware that a lead-acid battery is quite heavy.
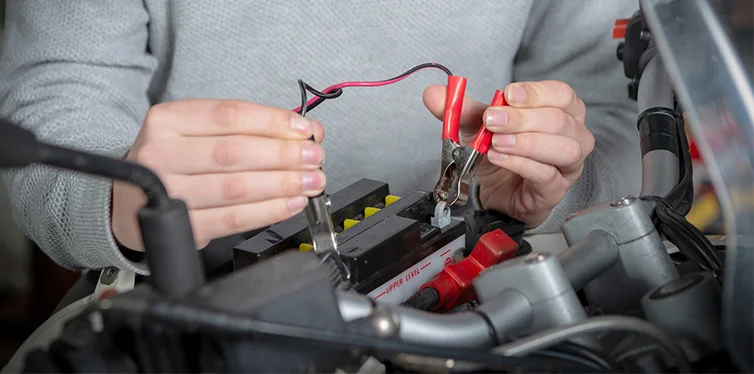
Testing
It is often the case that an old battery may show a reasonable voltage when tested with a voltmeter, but is unable to provide sufficient current to start the bike. If you think this may be the case, or you are unsure as to the condition of your battery, you can take it to a local mechanic or motorcycle shop and ask them to do a load test for you. This will give you a clear indication of whether or not the battery needs to be changed.
Cleaning
Now you have the battery removed it is a good time to check the ends of the leads that connect to the terminals. Over time they will pick up grime, dirt and maybe even corrosion. Clean them up using an electrical contact cleaner and use a piece of fine sandpaper or a soft wire brush to remove any corrosion. This ensures that when you fit the new battery it will have clean connections with the electrical system on the bike.
Install the battery
Installation is effectively doing the reverse of taking it out. Put the battery back into the bike, making sure it is the correct way round so the leads are adjacent to their terminals. Always connect the positive lead first and then the negative. If you have a conventional flooded battery make sure the vent tube is unobstructed. It is a good idea to spray a dedicated battery terminal grease or smear some petroleum jelly (Vaseline) over the terminals to prevent corrosion, but do not use a mineral-based grease. Secure the battery in place as before, and then replace the seat and/or any panels that may have been removed.
How to extend the life of a motorcycle battery
It’s no secret that motorbikes are pretty rough on batteries and because it’s only something you learn with time, new riders tend to go through them at a faster rate. But there are ways you can extend the life of the battery with proper care and attention.
Use the correct battery
It may seem like an obvious one to start with, but not all riders use the correct battery. Only use batteries that are in-line with the bike manufacturer’s specifications. Some say that replacements should be exactly the same type as the original. An example of this would be a maintenance-free AGM battery, which should not be replaced with a maintenance-free Gel battery. Also, look for batteries that have an extended lifespan. They are more expensive but tend to be worth it in the long run. With batteries, it is generally true that you get what you pay for!
Charge the battery
Another good way to extend the battery’s lifespan is to keep it fully charged as much as possible. For example, a 12-volt battery would likely be anywhere between 12.6 to 12.8 volts, rather than 12.0 to 12.2. Batteries like to be used, so the best thing is to ride as often as possible.
If a bike is used most days it will keep the battery fully charged automatically. However, if there are long gaps in-between rides, particularly over winter, use an ‘intelligent’ trickle charger to keep it topped up. Be sure to use one that is dedicated to motorcycle batteries only, however, and not for use with cars or other vehicles, as it could damage the battery permanently.
Use a maintenance schedule
Good maintenance also plays a role in helping keep your battery alive for longer, and even though most motorcycle batteries are now maintenance-free you still need to keep an eye on them and their leads and terminals. The battery should come with a maintenance schedule from the manufacturer, and while it can be easily overlooked, the checklist can make a notable difference.
When you disconnect any bike battery, remove it via the negative terminal first, before putting it onto a clean surface in a well-ventilated area. Keep an eye out for signs of corrosion and clean where appropriate as described earlier. If it’s a conventional flooded (wet cell) battery also check the electrolyte levels regularly, and add deionised or distilled water when necessary to keep the levels up to the MAX line. And if you own a hydrometer or voltmeter (for bikes) you can test the battery using these devices.
The Motorcycle Parts Warehouse community is growing. Get involved!
Send us photos, videos, and blog posts documenting your first track day to help out other riders and you could earn rewards. There are vouchers, discount codes, and giveaways on offer - so get creative. Message content to us on Facebook or Instagram, or email it in below!
Contact us at [email protected].
