Motorcycle Servicing - Pre-ride Checks
SERVICING YOUR MOTORCYCLE…..Pre-Ride Checks
Following our recent introduction to a multi-part series on How To Service your own Motorcycle we look further at DIY servicing and maintenance, and in this post start with the basic checks that you should make before every ride.
Later posts will cover the checks you should be making weekly or every 300 miles and monthly or every 1000 miles, and what to do for a full minor service and a full major service.
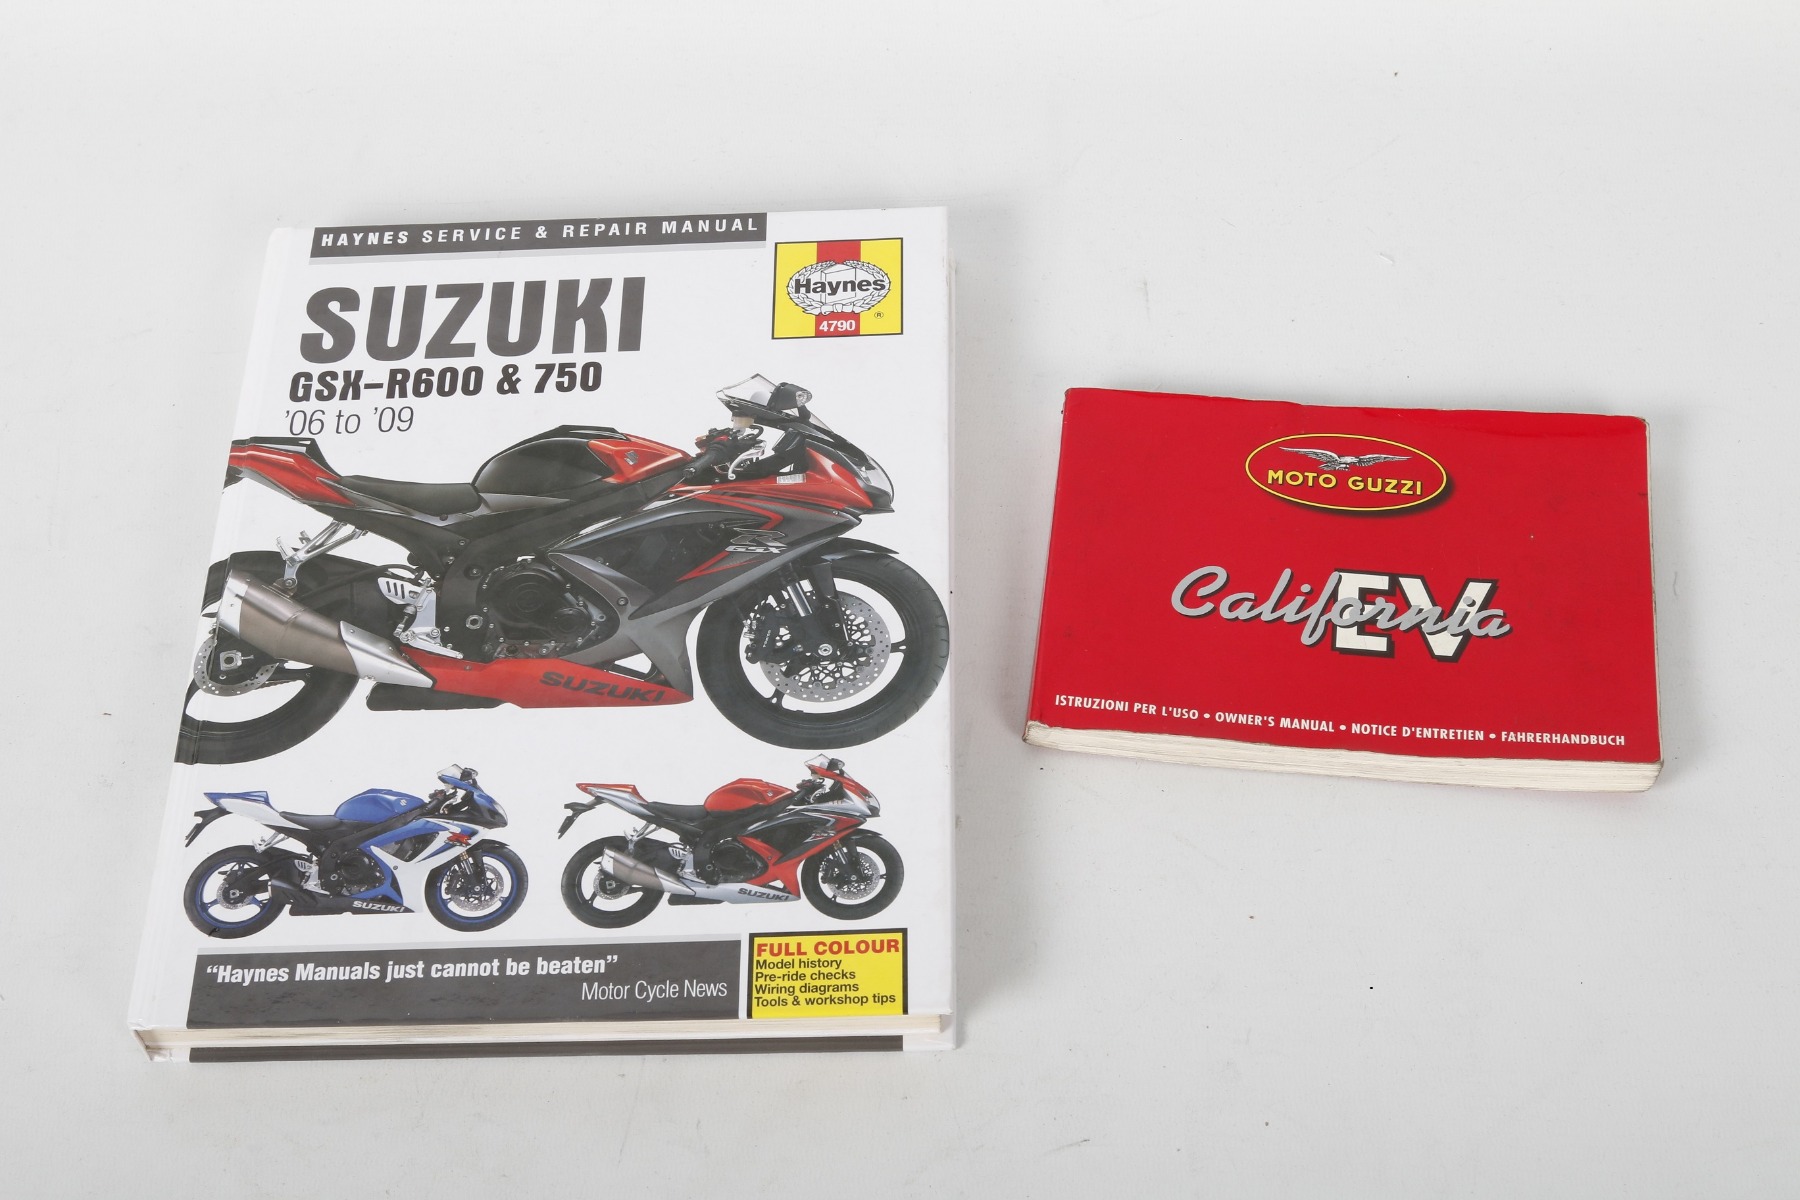
Note: MPW are pleased to announce that we will soon have the full range of Haynes and Clymer Service and repair Manuals available to buy on our website.
What to check
Every motorcycle and scooter handbook has a section on the checks you should make before every ride, but how many of us actually do them. Very few, especially if you use the bike every day, or more than once a day. And in reality it usually isn’t necessary, but one day it could be – a slow puncture you didn’t notice the previous day that has reduced tyre pressure overnight, a blown headlight bulb that you will need later when coming home in the dark. You never know unless you check. Of course it is always possible to get a puncture and blow a bulb a mile down the road, even though you checked before you left. There is nothing you can do to prevent such things, but that does not make it right to not carr out some basic pre-ride checks, just in case.
Some general information on each check is given, excluding the obvious like lighting and horn function. For detailed information and specifications relevant to your bike refer to the handbook or manual. Tyre pressures are often given on a label stuck to the frame or a piece of bodywork.
Pre-ride checks:
- Tyre pressures
- Engine oil level – 2-stroke engines
- Engine oil level – 4-stroke engines
- Coolant level
- Lever, pedal and throttle function
- Check all the lights and the horn work
- Check you have enough fuel
How to check it
Checking the tyre pressures
Difficulty rating: Easy
What you need: A tyre pressure gauge.
What you might need: A foot pump, or a source of compressed air and a tyre inflator.
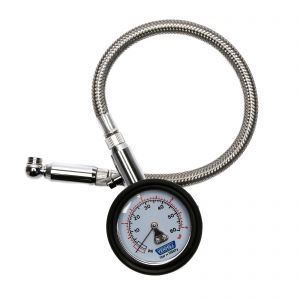
NOTE: Tyre pressures vary from day to day with air temperature, and pressure can be lost via a loose or leaky valve, a poorly seated tyre bead, a corroded wheel rim, or a puncture. As the pressure of the air in the tyre is crucial to the handling of the bike it is important for your safety that you check it regularly, and preferably before every ride.
NOTE: Check the tyre pressures when the tyres are cold. This is because the manufacturer’s recommended pressure is given for a cold tyre, and as tyres warm up the pressure increases, so if you check the pressure when the tyre is hot and apply the specified figure the actual pressure in the tyre will be too low.

- Unscrew the valve cap.
- If you are using a digital gauge select the range to match the unit specified in the handbook, i.e. psi, BAR, Kpa, kg/cm2.
- Fit the gauge squarely onto the top of the valve – if you hear a hissing sound that does not stop the gauge has not seated and sealed correctly so you need to reseat it.
- Release and remove the gauge and check the reading on it, comparing it to the figure specified in the handbook.
- To increase tyre pressure add some air using a foot pump or air compressor and tyre inflator. If you have neither and need to use the air supply at a garage take your own pressure gauge with you as forecourt gauges can be wildly inaccurate. When you get to the garage check the tyre pressure again before adding any air – if the tyre has warmed up the pressure will have increased. When you add the air add enough so the reading on your gauge is higher than the specified pressure by the amount it increased on the way to the garage.
- To let some air out press on the top of the valve core.
- When the pressure is correct fit the valve cap.
Checking the engine oil level – 2-stroke engines
Difficulty rating: Easy
What you need: A rag. Some 2-stroke oil of the type and grade specified by the manufacturer.
What you might need: A funnel.
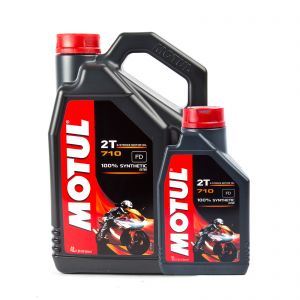
NOTE: 2-strokes burn oil with the fuel so the oil tank needs to be filled just as your fuel tank does. Refer to the handbook for details on the location of the oil tank and how to access it. Most scooters will have a low oil warning light, but this should not be relied on and regular checks of the level should be made, preferably every time you fill up with fuel - if you keep a bottle of oil stored on the bike you can top the oil up at the same time as the fuel.
- Support the bike upright on level ground.
- Check the level of oil in the tank either via the inspection window if there is one or by removing the filler cap.
- If the level is low top up with the recommended type and grade of oil.
Checking the engine oil level – 4-stroke engines
Difficulty rating: Easy
What you need: A rag.
What you might need: Some 4 stroke engine oil of the type and grade specified by the manufacturer.
A funnel.
NOTE: Check the handbook for any specific details relating to your motorcycle before checking the level. Most manufacturers specify that you run the engine for a few minutes to warm it up, then stop it and leave it for a few minutes to let the oil level stabilise before checking it. If your bike has a dipstick confirm whether the level is checked with the dipstick screwed in or with it resting on the top of the threads, as this will affect the level of the mark made by the oil.
Note: If you need to add oil frequently check for any leaks, and for blue smoke coming out of the exhaust.
Bikes with a dipstick:
- Support the bike upright on level ground.
- The oil level dipstick is usually incorporated with the filler cap. Unscrew the cap and wipe the dipstick clean.
- Insert the dipstick, and if the manufacturer specifies to do so screw it all the way in.
- Remove the dipstick and check the oil mark - it should lie between the upper and lower level marks or within the hatched area, according to type.
- If the level is near, on or below the lower mark or the bottom of the hatched area, top up with the recommended type and grade of oil to bring the level almost up to the upper mark or the top of the hatched area. Do not overfill.
- Wipe the O-ring on the underside of the cap, then check is in good condition and correctly seated and smear it with oil. Fit and tighten the cap.
Bikes with an inspection window:
- Support the bike upright on level ground.
- Locate the oil level inspection window and wipe it clean.
- Check the level of the oil in the window – it should lie between the two marks.
- If the level is near, on or below the lower mark, unscrew the oil filler cap.
- Top up with the recommended type and grade of oil to bring the level almost up to the upper mark. Do not overfill.
- Wipe the O-ring on the underside of the cap, then check is in good condition and correctly seated and smear it with oil. Fit and tighten the cap.
Checking the coolant level – liquid-cooled engines
Difficulty rating: Easy
What you need: A rag.
What you might need: Some coolant of the type specified by the manufacturer.
A funnel.
NOTE: Check the handbook for any specific details relating to your bike before checking the level. Most bike manufacturers specify to check the level when the engine is cold, but a few specify to warm the engine up. Use only the specified coolant mixture – there are different types and it is important that you use the correct one, and do not mix the different types. It is important that anti-freeze is in the system all year round, and not just in the winter.
- Support the bike upright on level ground.
- Locate the coolant reservoir and wipe it clean.
- Check the level of the coolant in the reservoir – it should lie between the two marks.
- If the level is near, on or below the lower mark, open the reservoir cap, referring to your handbook for details on how to access it if necessary.
- Top up with the recommended coolant mixture to bring the level almost up to the upper mark. Do not overfill. Fit the cap.
Checking lever, pedal and throttle function
Difficulty rating: Easy
- Check that the brake lever and pedal, clutch lever and gearchange lever operate smoothly.
- Check that the throttle twistgrip rotates smoothly when opened and snaps shut when released, in all steering positions.
PRODUCTS:
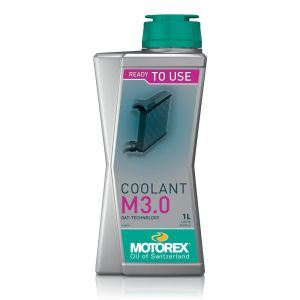
Coolant – Motorex, Motul, Yamalube
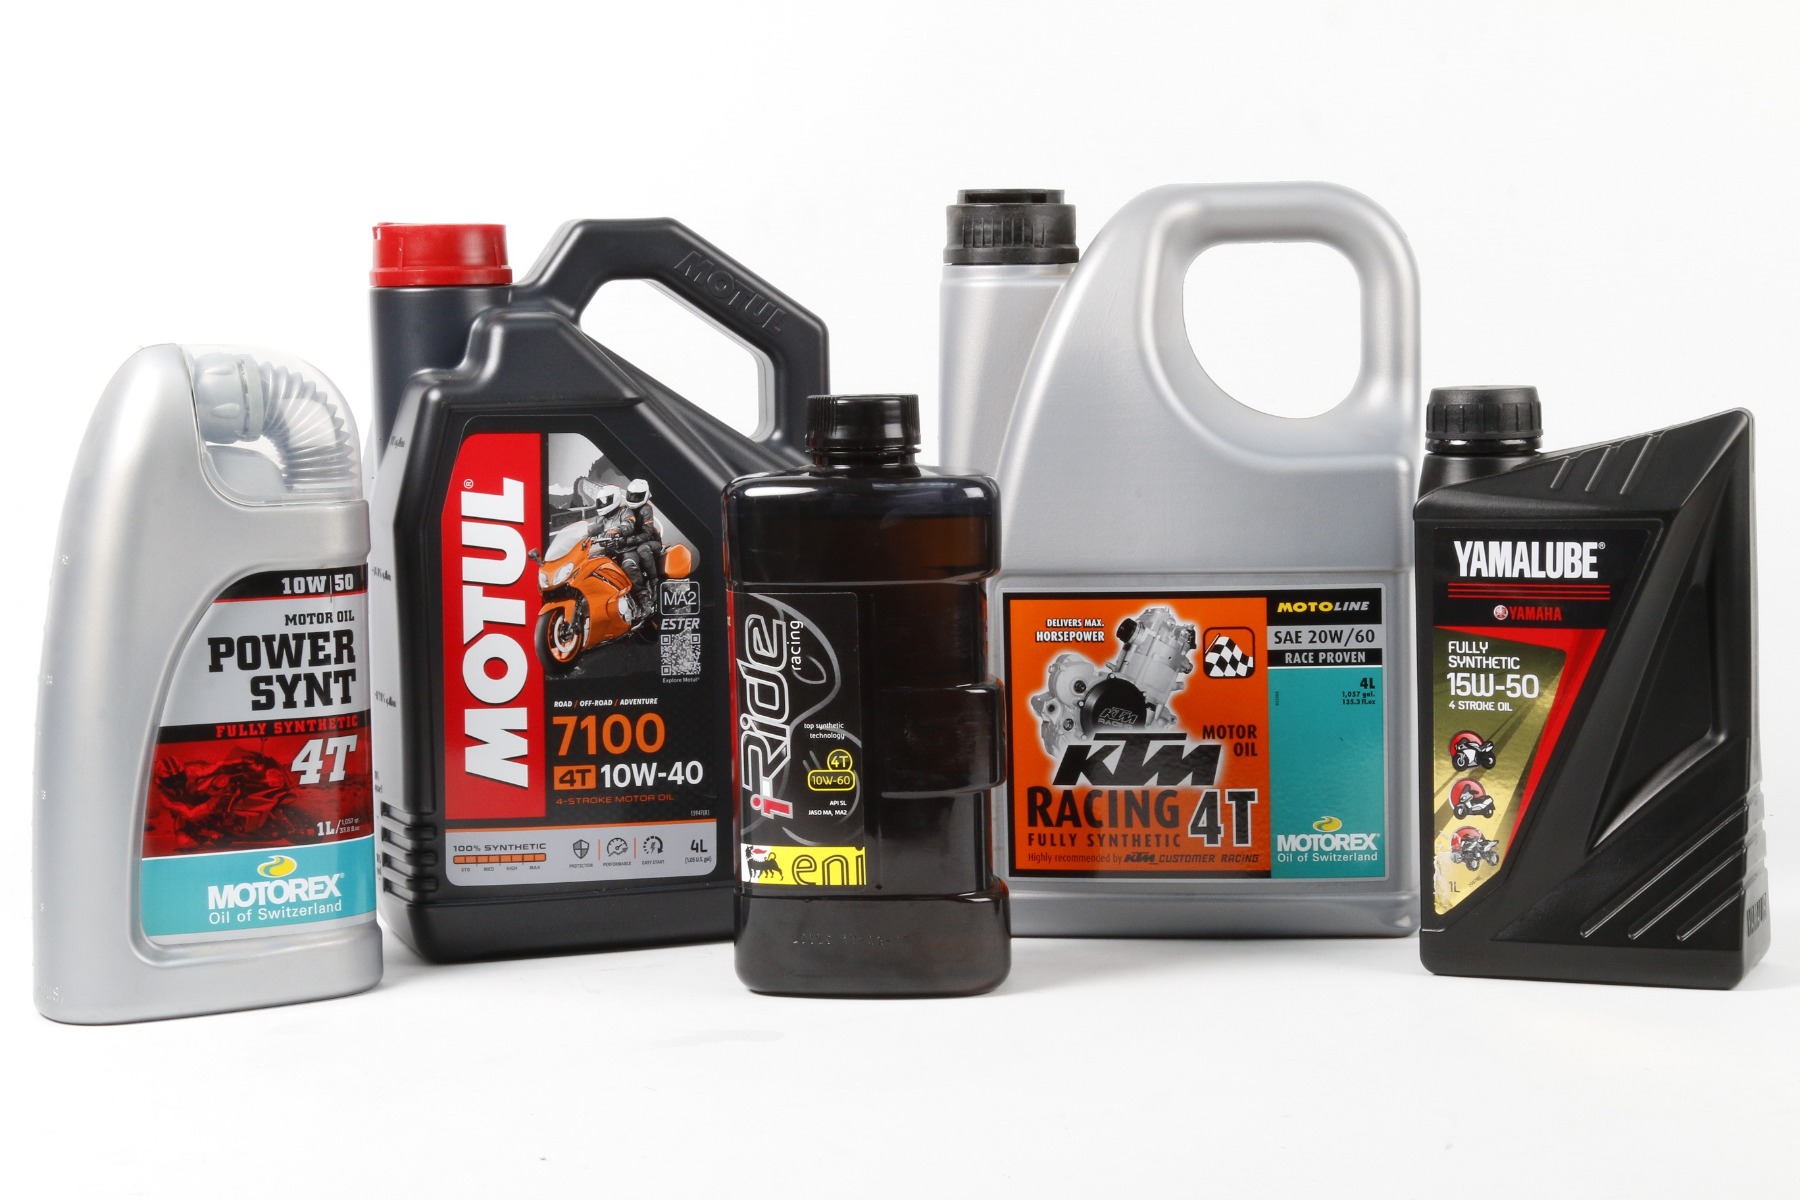
Engine oil – Eni, Motorex, Motul, Yamalube
Tyre pressure gauge – Puig, Venhill
To see the full range of products available from MPW browse the motorcyclepartswarehouse shop.
