Road to Revival: Stripping the Bike
As outlined in our previous article, the first step in the process of building our bike for Goodwood Revival is the strip down. A lot of people start this process with endless enthusiasm, ripping parts off and throwing them in a pile. Two years later, you see a listing on eBay for a project bike which is essentially a frame and a box of parts! We do not want to fall into that category!
How do you Strip a Motorcycle?
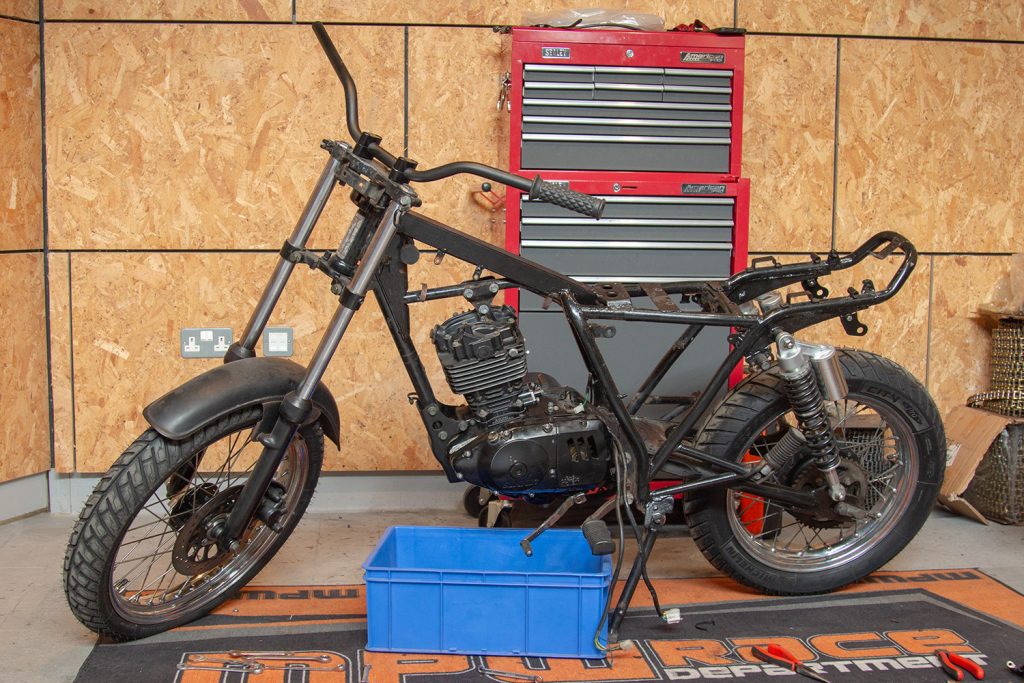
It's always a good idea to take lots of photos of the process. This ensures you remember which parts go where. I also like to bag components and label them with what they are and where they have come from. That way, you still know how everything goes back together. You can always refer to a Haynes manual for assembly instructions, but I like to document the process as well. Unfortunately for project 125, Oli had already stripped off the battery, clocks, tank, switchgear, seat and throttle! We decided not to worry about it, and cracked on.
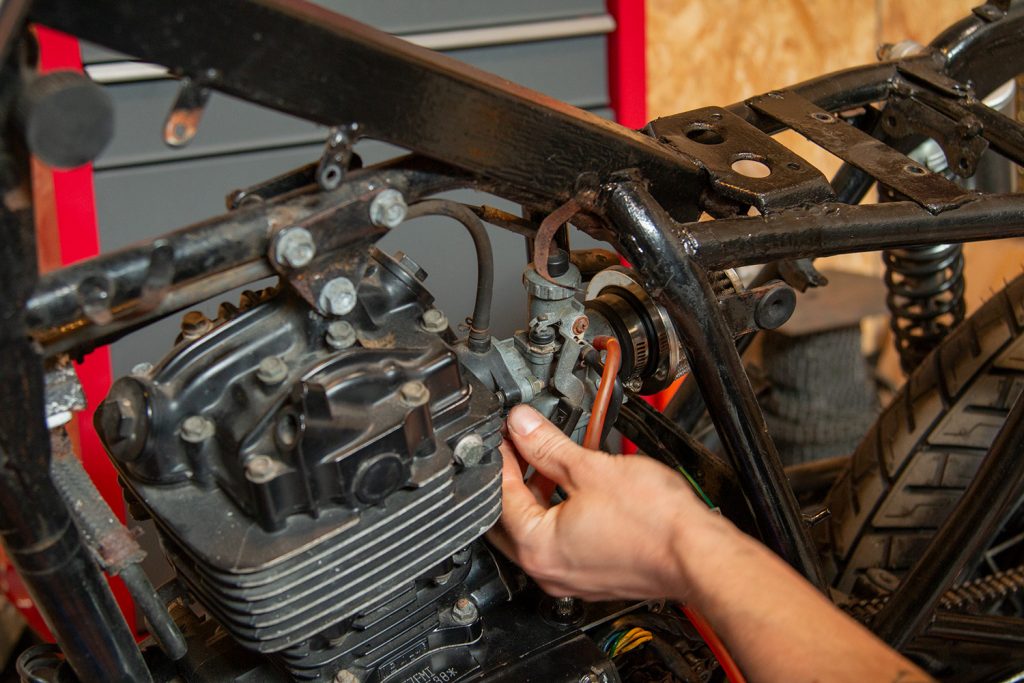
Off comes the carb. Another benefit of having a simple motorcycle - one cylinder, with one solitary carb! A few bolts and it's off. Oli had already replaced the airbox with a cone filter - a cafe racer must have. Will we remember to re-jet the carb? Probably not.
Then the fiasco of clearing out the old wiring loom. This is getting replaced by a Motogadget M Unit with any luck.
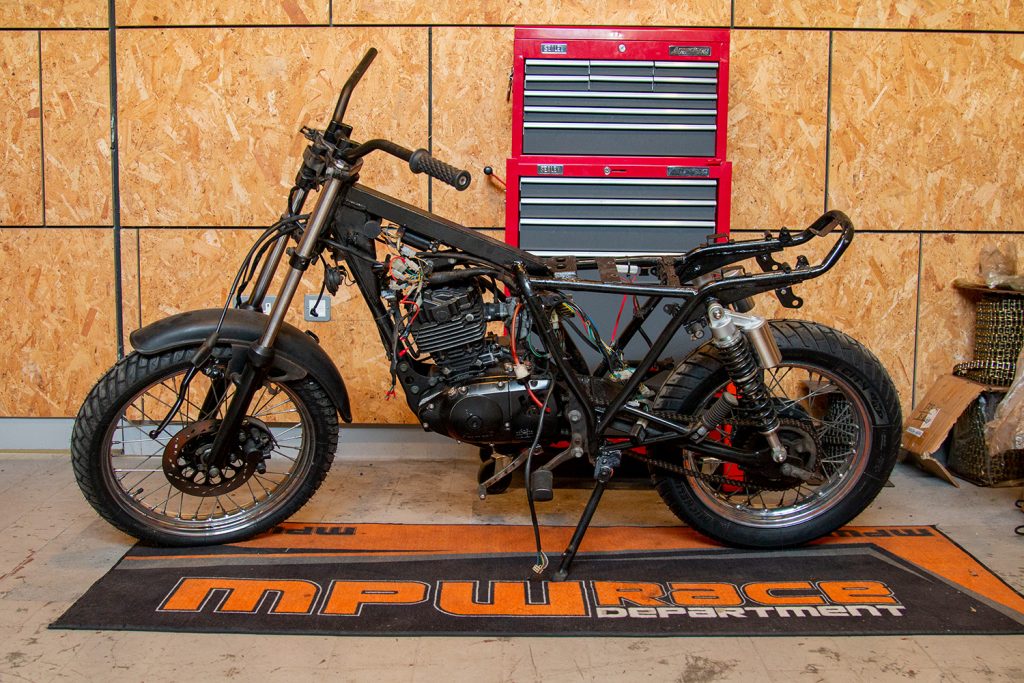
With the wiring loom out, it was time to get the engine and wheels off. The swingarm pivot bolt goes through the rear engine mount, so we went ahead and removed the rear wheel first.
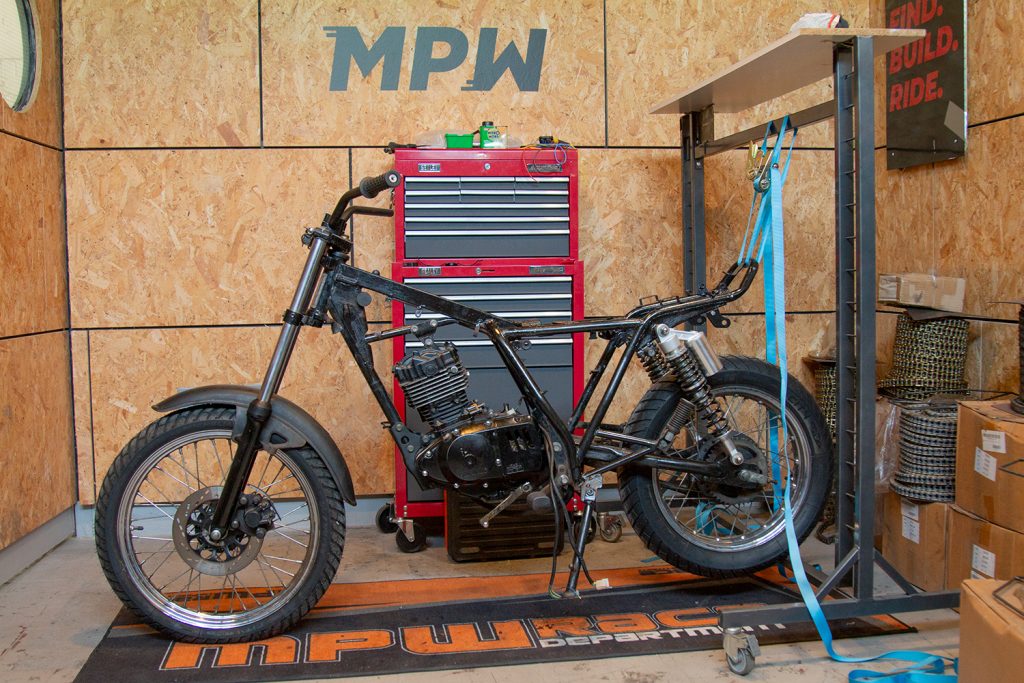
In order to get the rear wheel out, we raised the back of the bike and suspended it to make life easier. Ratchet straps and a framework (or ladder) of some kind is pretty handy for this.
With only a moderate amount of swearing, we had the torque link, brake rod and axle bolt removed. With that done, we could remove the rear wheel.
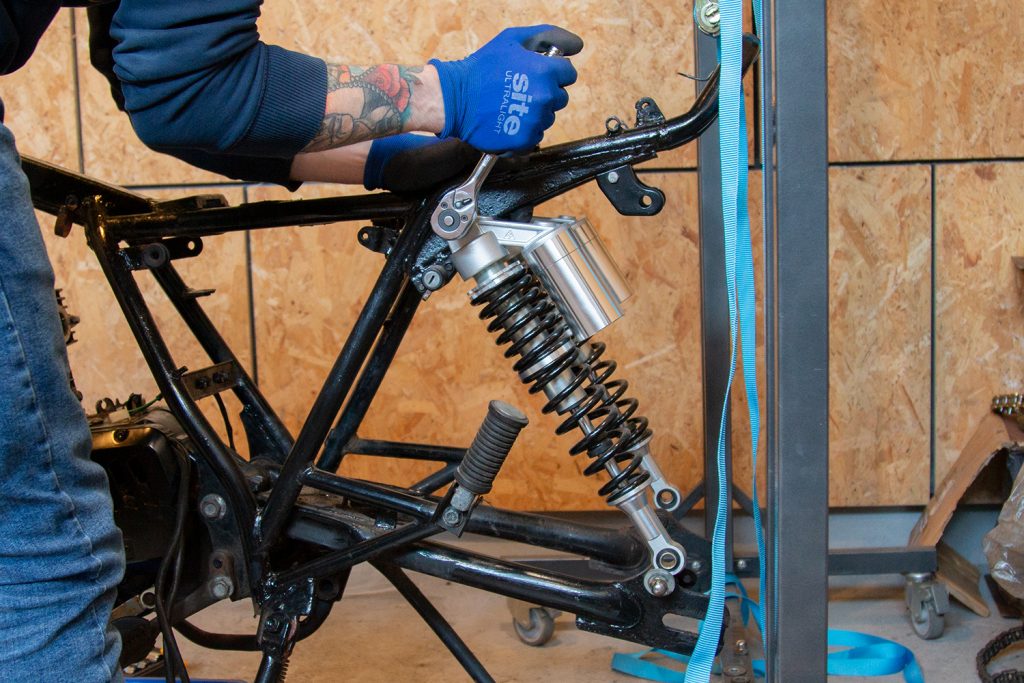
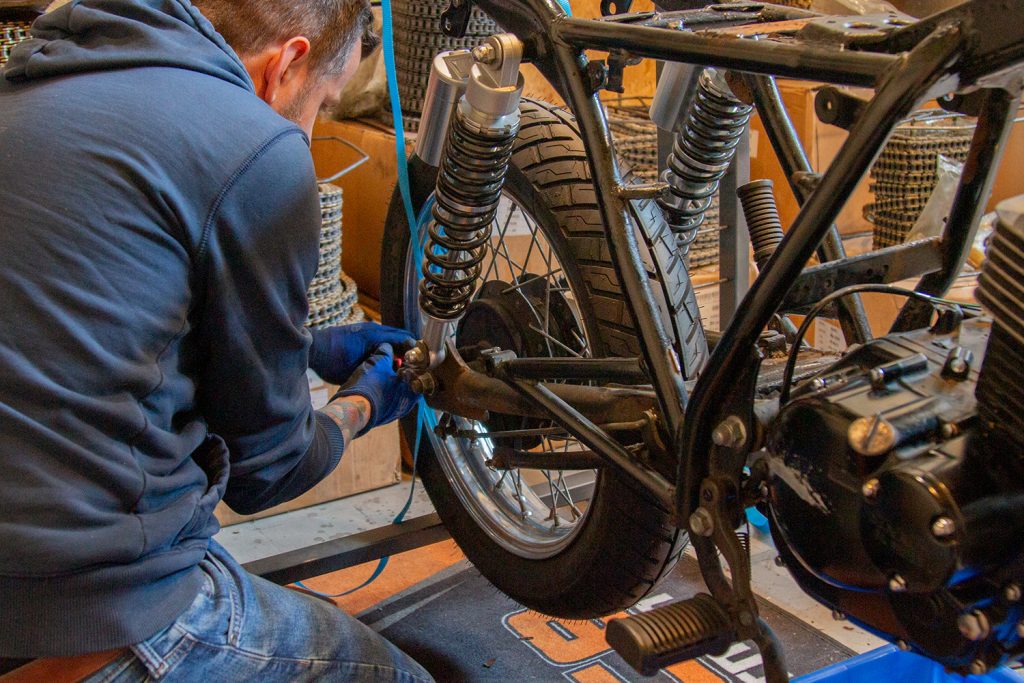
Now the wheel was out of the way, we removed the rear shocks. We then removed the swingarm pivot bolt and got the swingarm out the way. I always like to thread nuts back onto the bolt they belong to, so nothing goes missing.
Removing the Engine
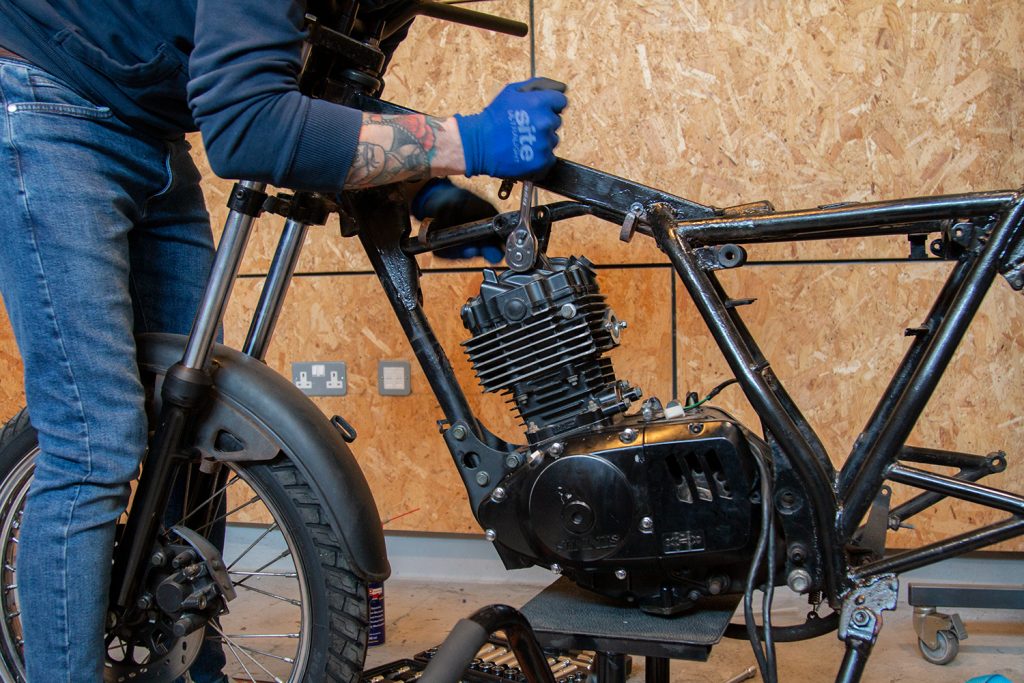
We supported the bottom of the engine with an MX lift (a jack and block of wood would do a similar job) and removed the remaining bolts securing the engine to the frame.
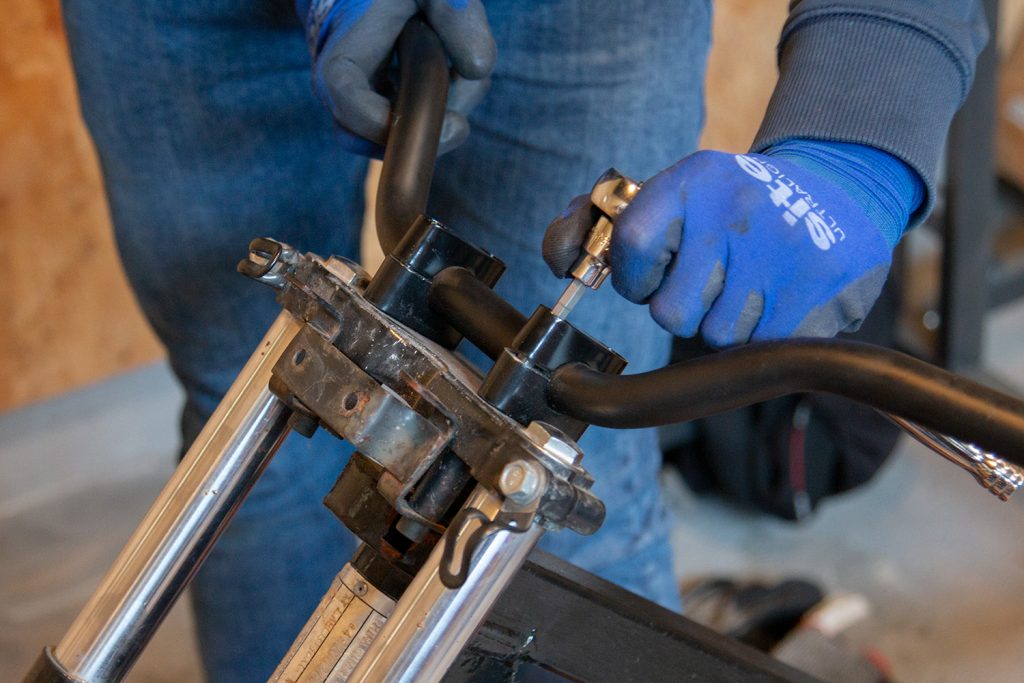
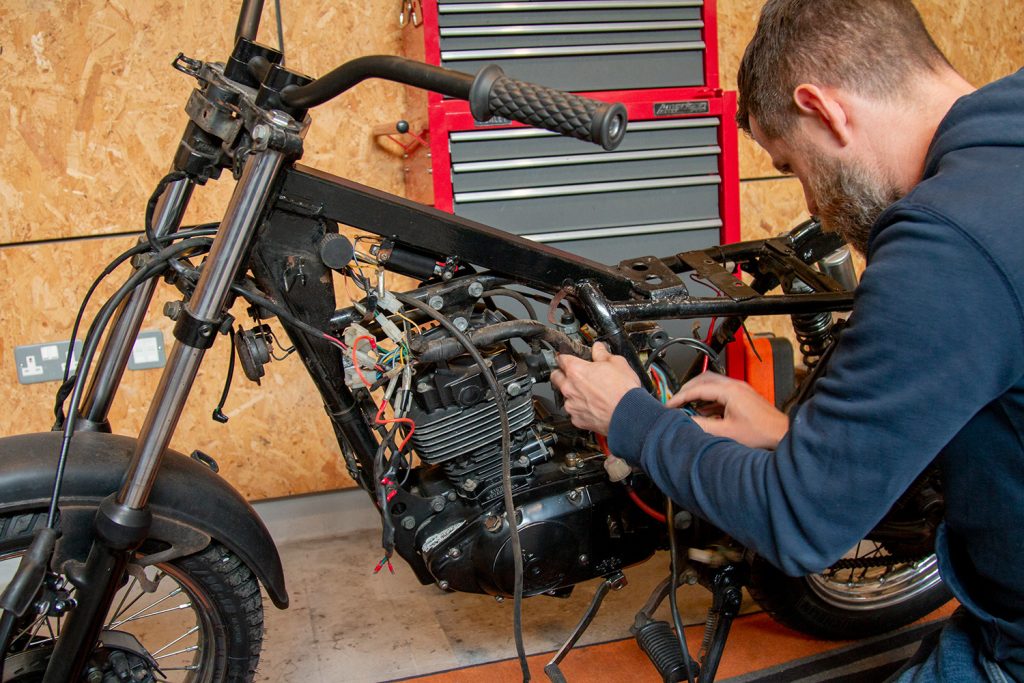
Now we just had to remove the front end - we started by removing the handlebars, then loosened the pinch bolts holding the forks to the triple clamp.
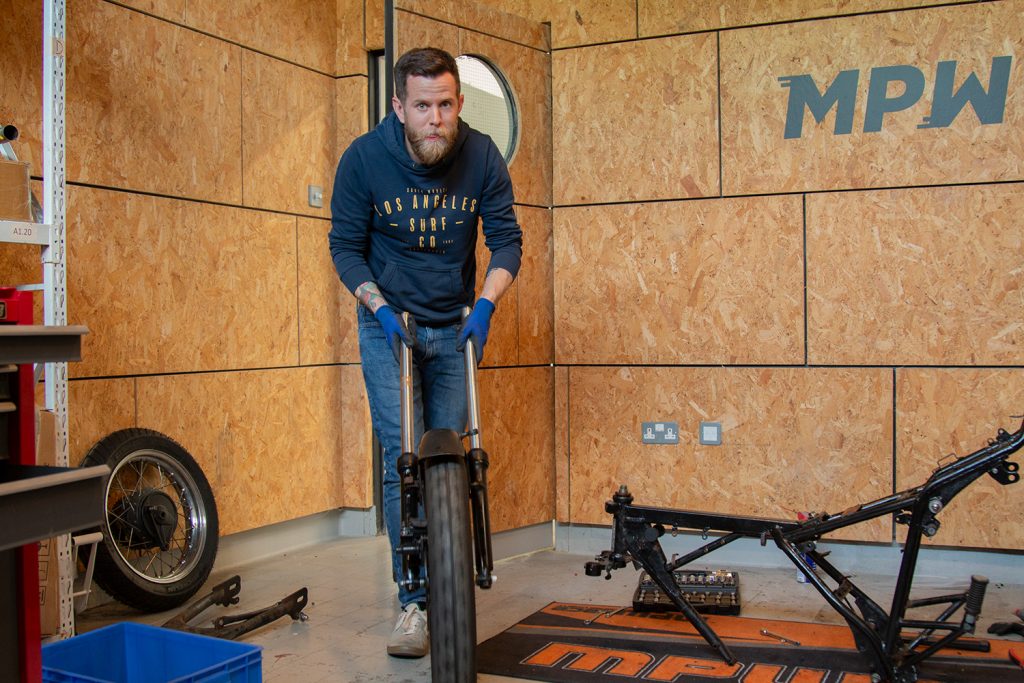
With the front end removed, Oli could do his best impression of a wheel barrow before removing the steering stem. After that we just had pillion footpegs to remove.
Next Steps
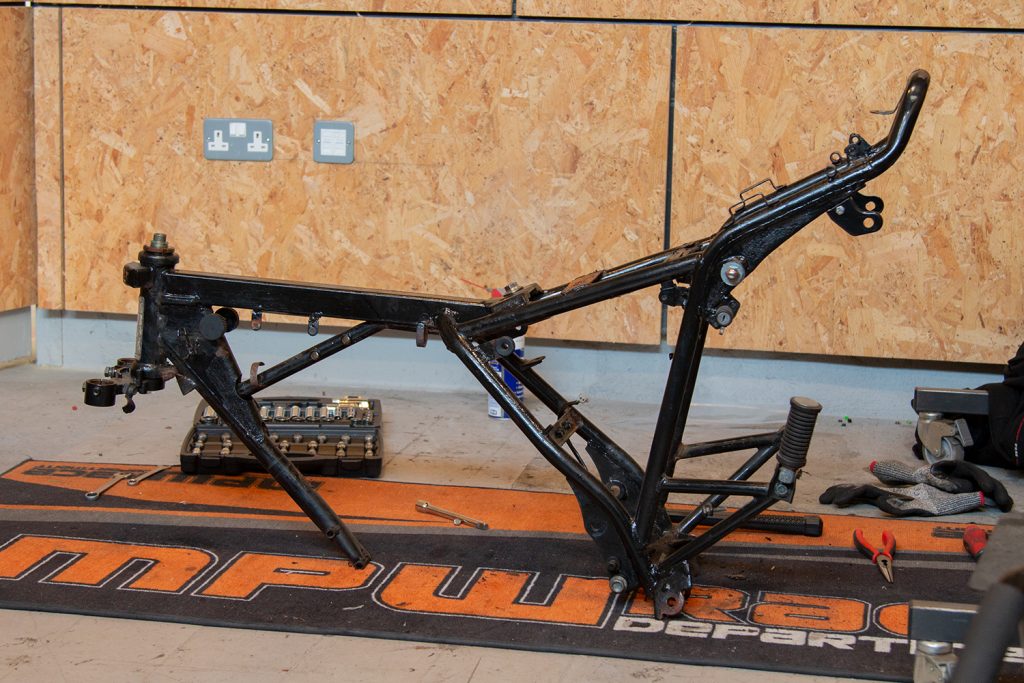
With the bike completely stripped down and everything (mostly!) bagged and tagged, we were ready to strip the old paint off the frame. Keep an eye out for episode 3, where we tackle the frame! In the process, we answer some burning questions - does Nitromors actually work anymore? Can you easily sandblast a frame yourself? Is it more cost effective to send your frame off to a professional? Is it possible to do a passable job of the frame yourself with a tin of POR15? Stay tuned for the next entry in the series and the answers to these questions!
