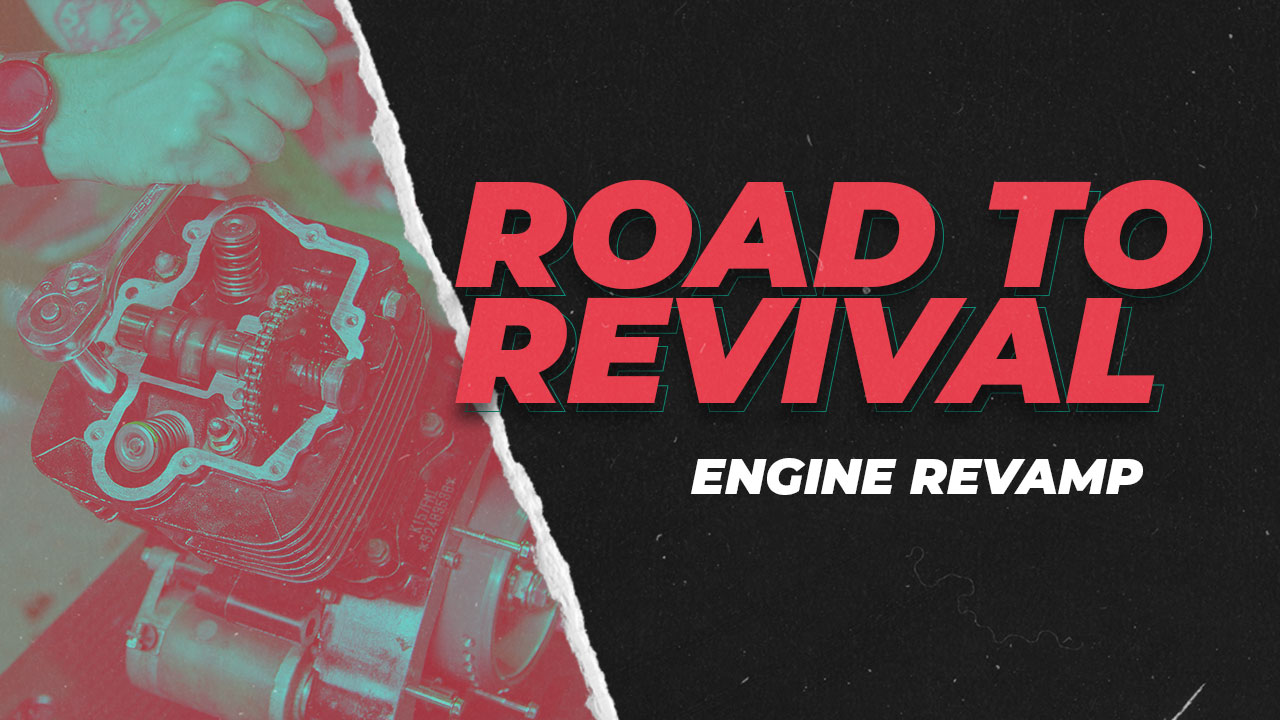
Road to Revival: Engine Revamp
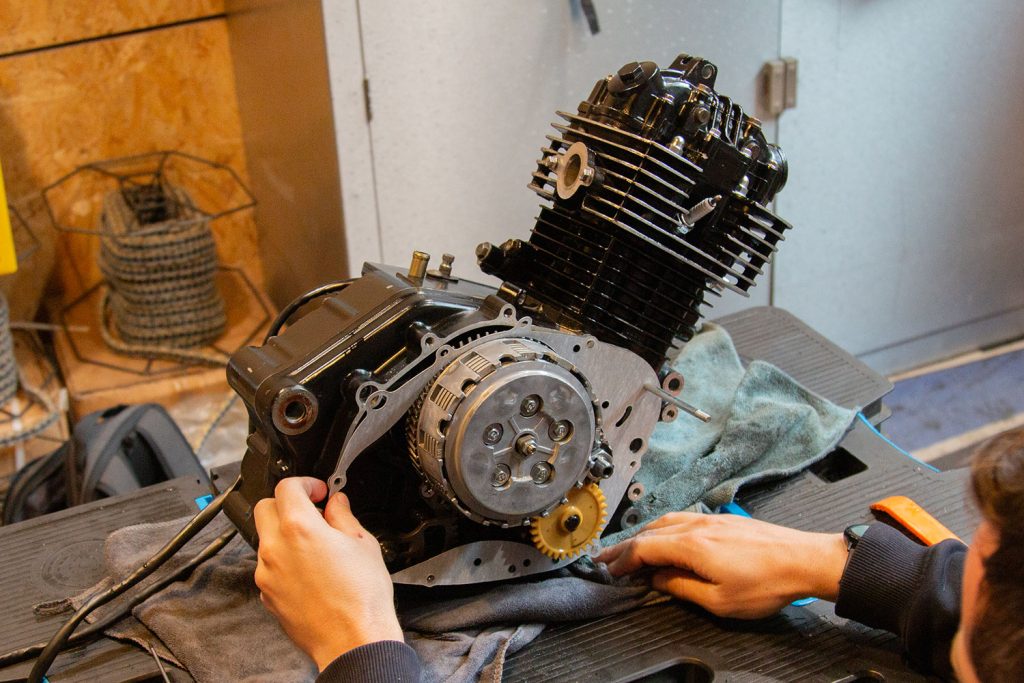
The engine of the Trackstar was looking quite sad - which is understandable for a 125 from 2014! We wanted to spend a bit of time tidying it up - repainting some components, replacing bolts and generally giving it a good clean in anticipation of mounting it back in the frame.

Degreasing the Engine
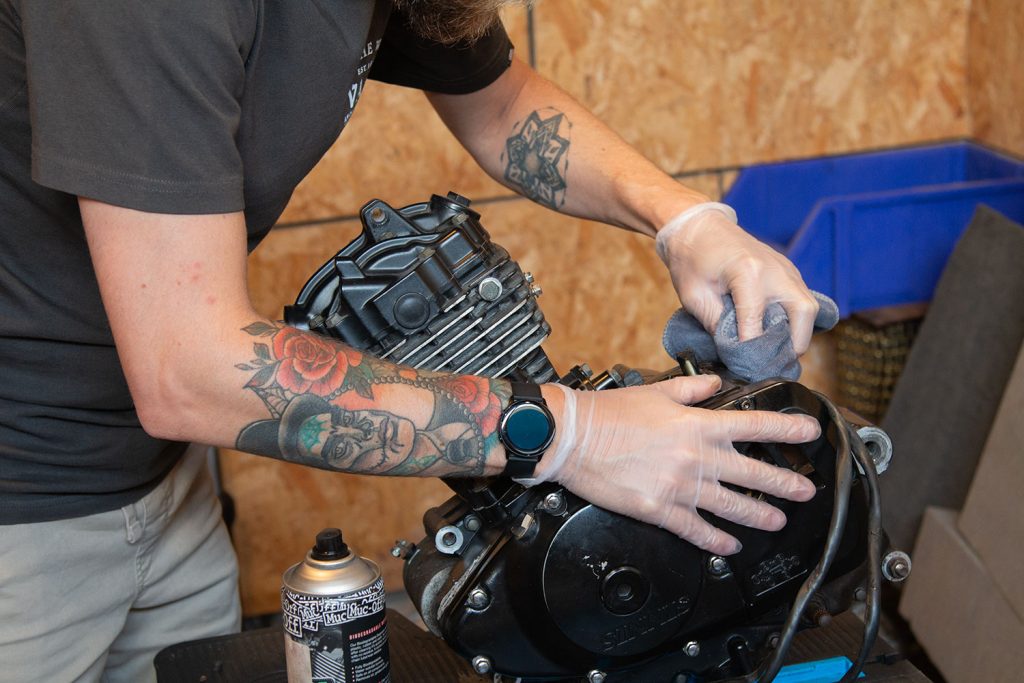
To begin with, Oli cleaned the engine down with some Muc Off Degreaser. It's a heck of a lot easier to do this while the engine is out of the frame.
Removing Sheared Bolts
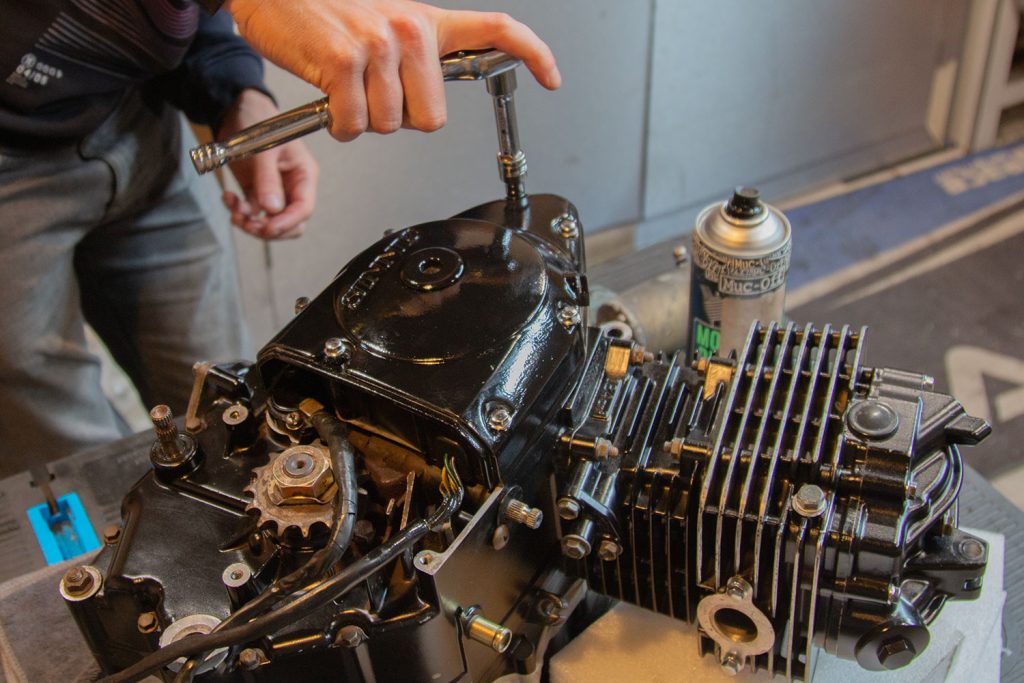
We managed to shear a few of the bolts a long time ago - one of the ones in the sump and both of the exhaust gas recirculation system bolts! There are a few options when it comes to getting broken bolts out. We got hold of a few different types of extractor in order to have a go at getting them out.
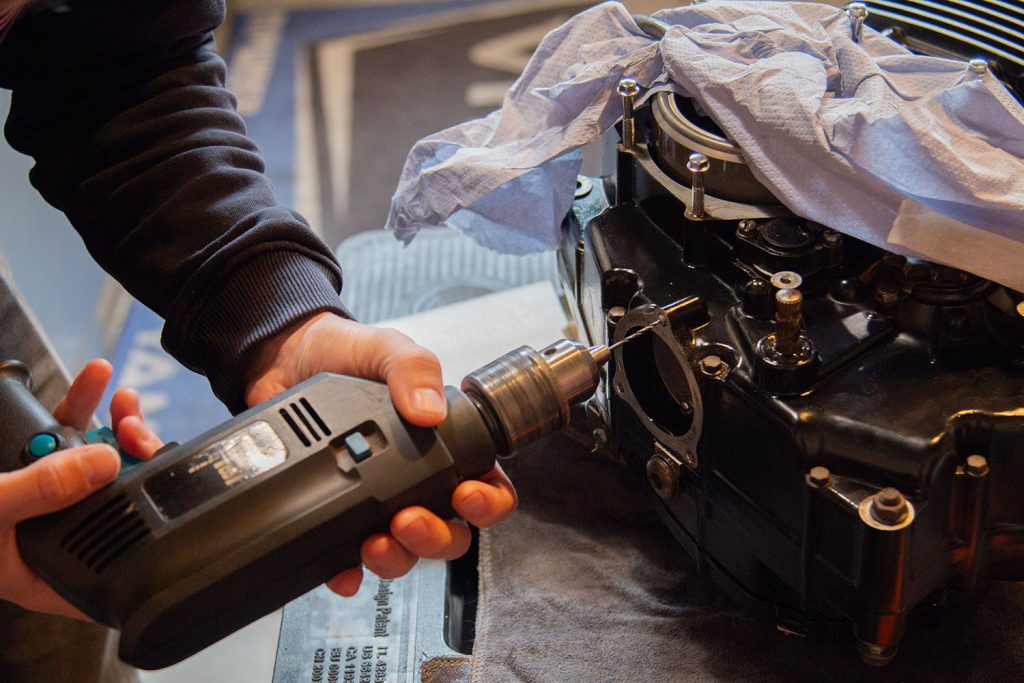
Using a 2mm bit, Oli drilled into the snapped bolt in the sump. He went to a depth of about 5mm.
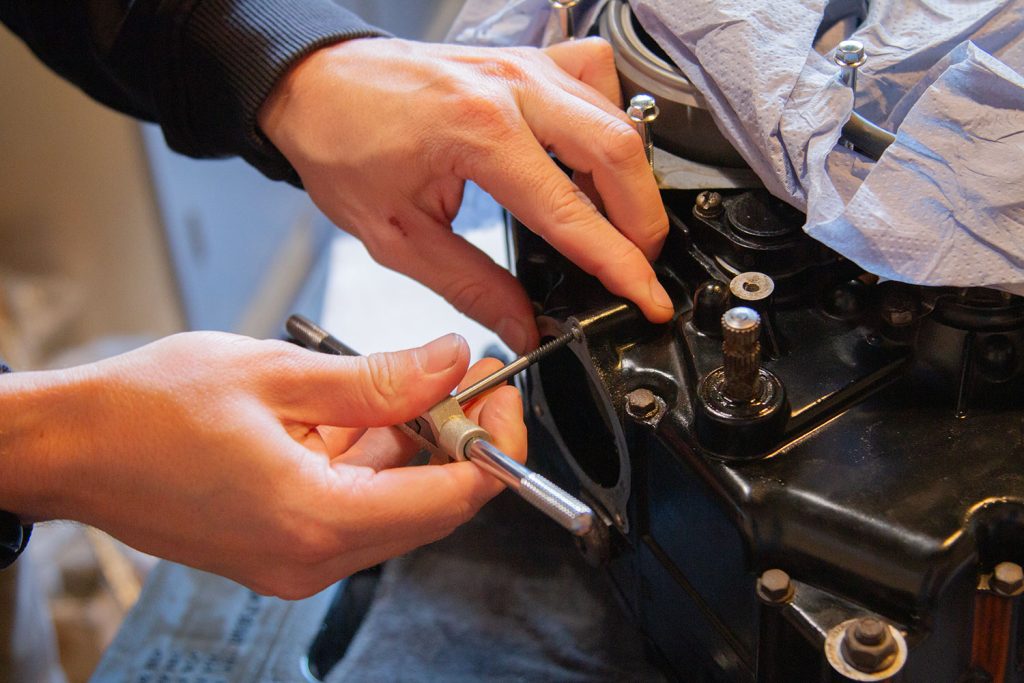
We then used the extractor to remove the remains of the bolt. This is easier said than done - the material of the bolt was so crumbly that it was difficult to get a good grip with the extractor. Luckily, it finally bit and we could wind it out. A splash of WD40 and heat can be helpful! You have to go easy with these things. It is incredibly easy to snap the extractor off in the hole and they are a pig to get out after that!
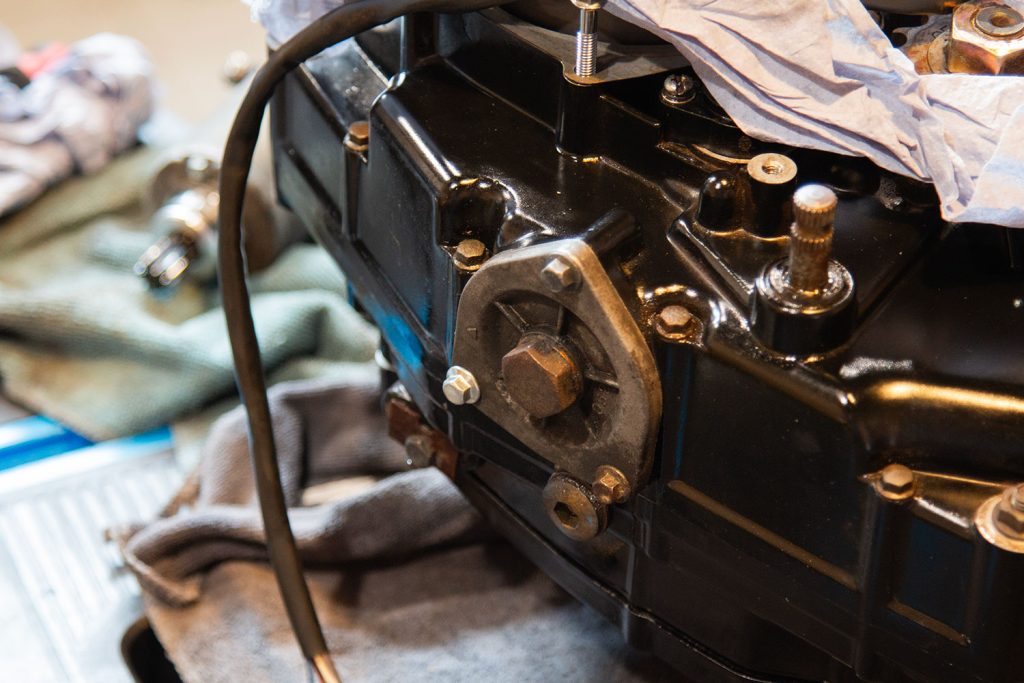
We refitted the sump cover and put in a new bolt - guess which one it is! Seeing as this is underneath the engine, we weren't too fussed.
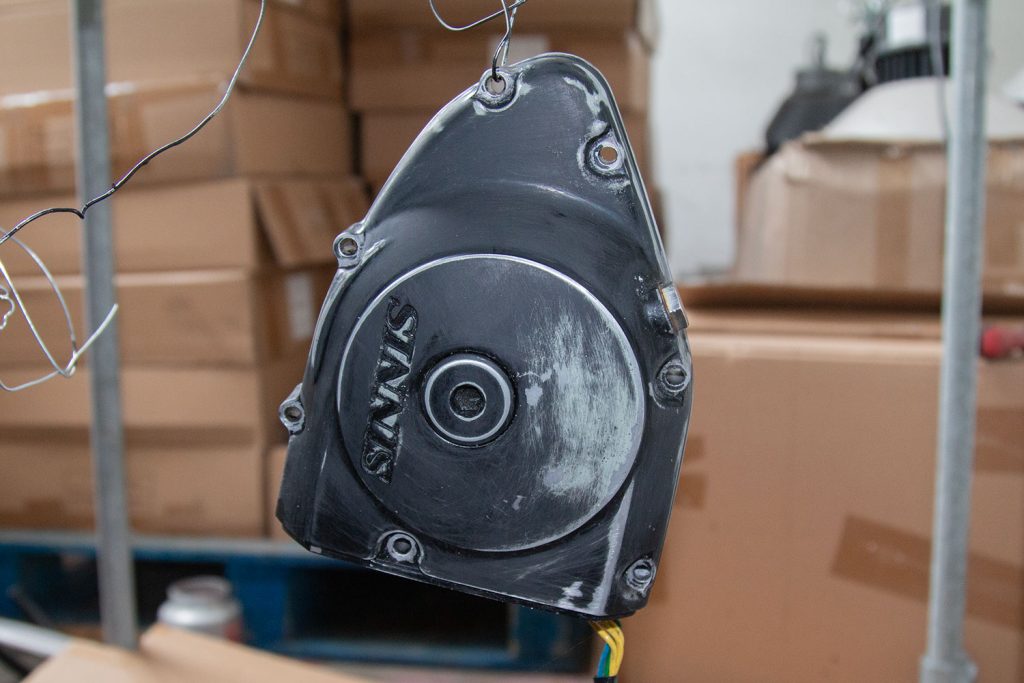
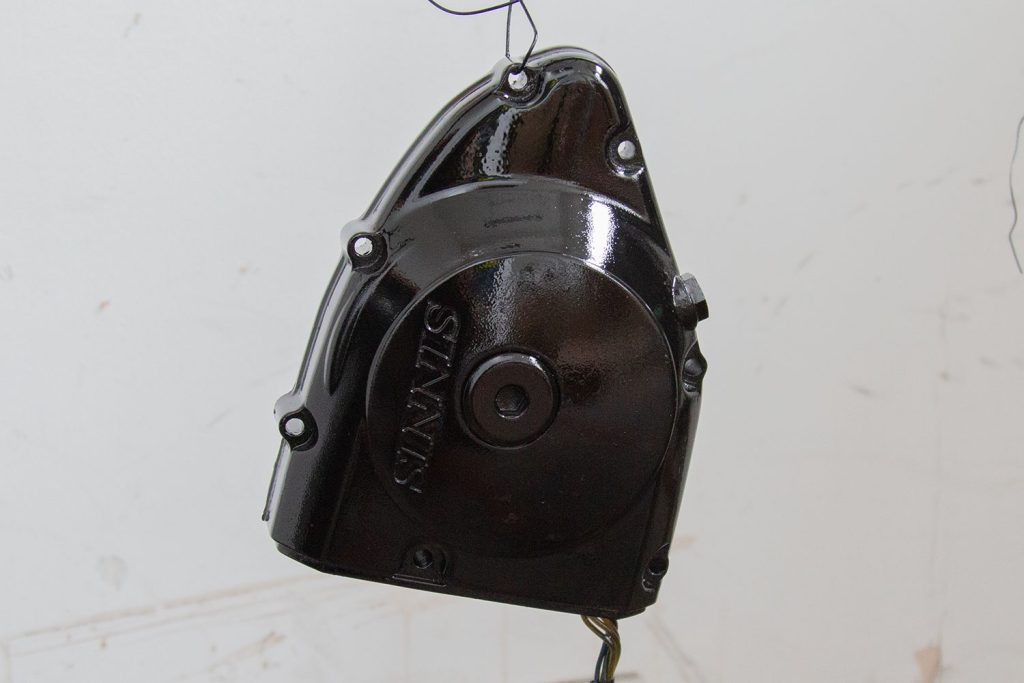
Clutch Cover
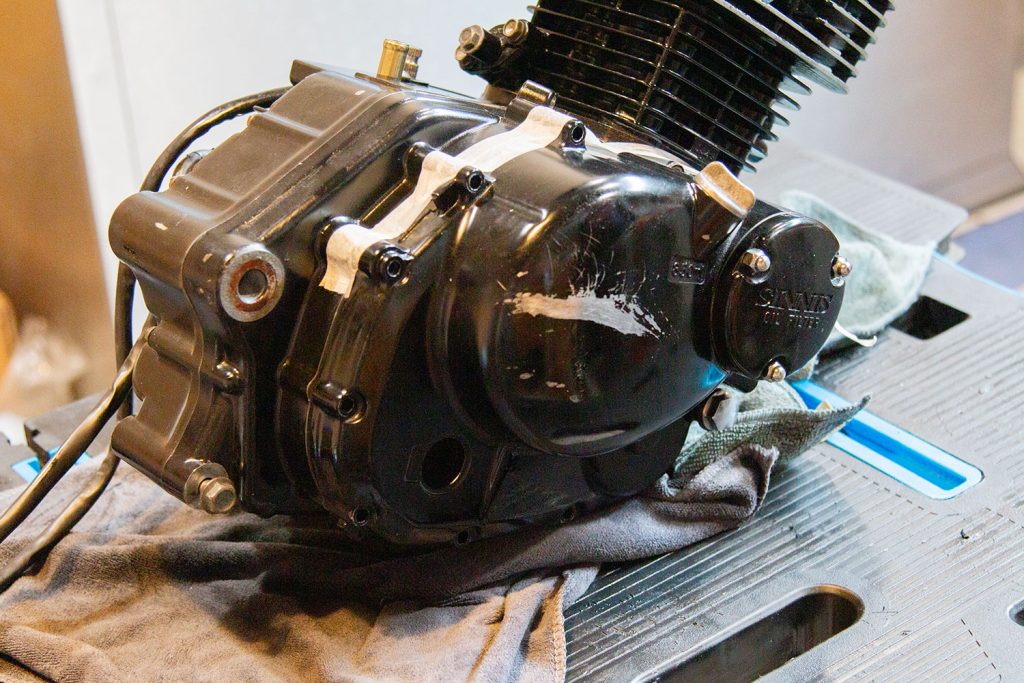
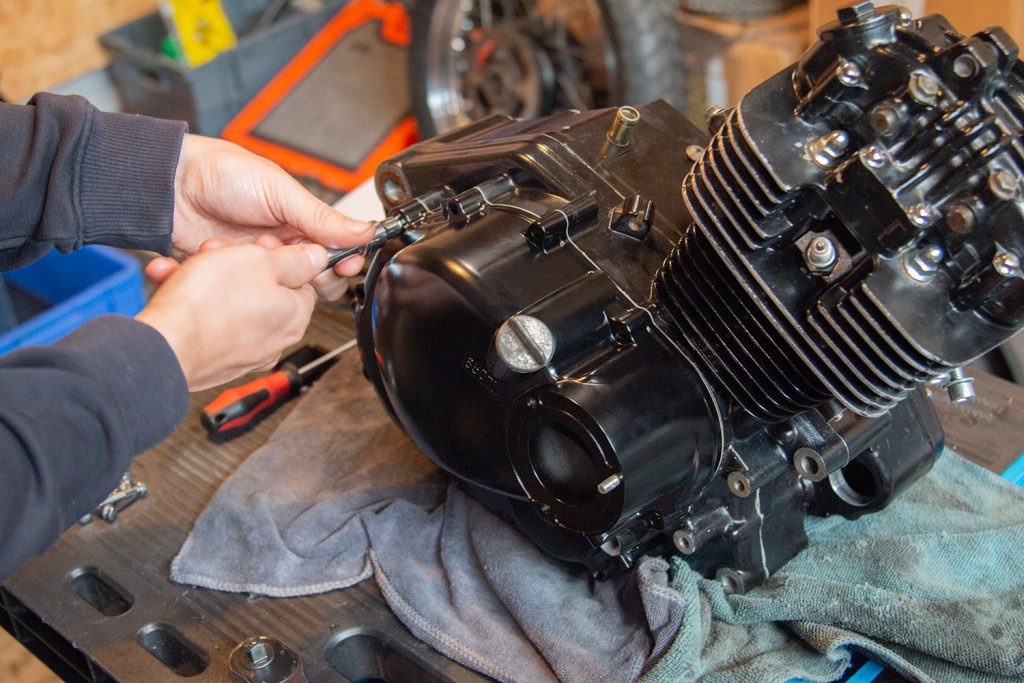
The clutch cover had definitely seen better days! We managed to find a new old stock replacement, so decided to swap it out rather than try to paint it. The trouble with swapping it was that we needed to fit the sight glass to the new case, as well as two of the threaded rods for the oil filter cover...
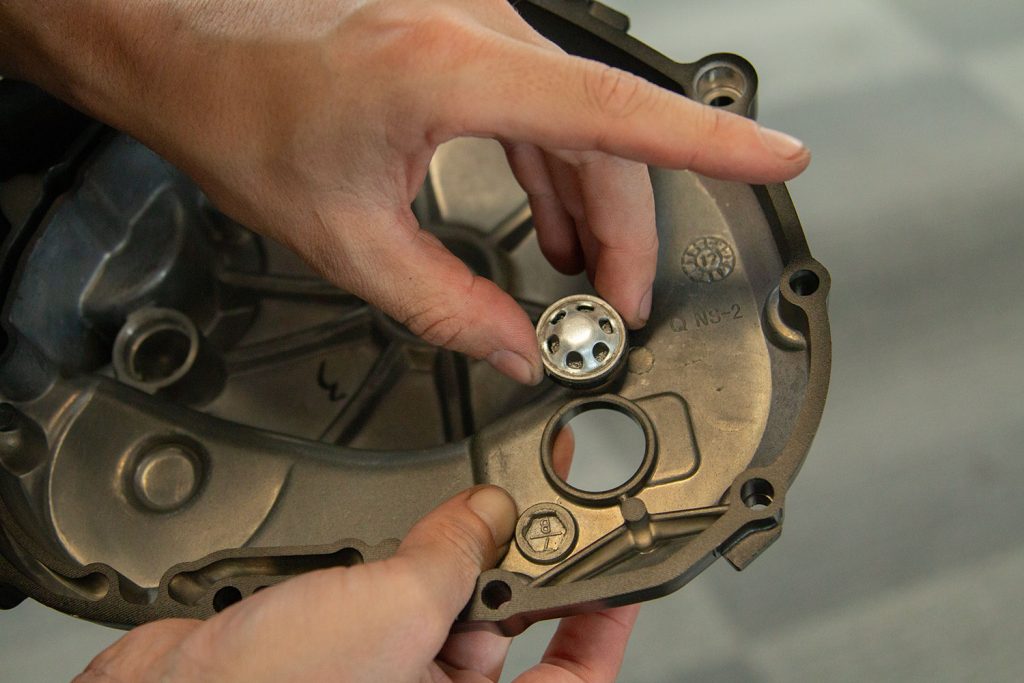
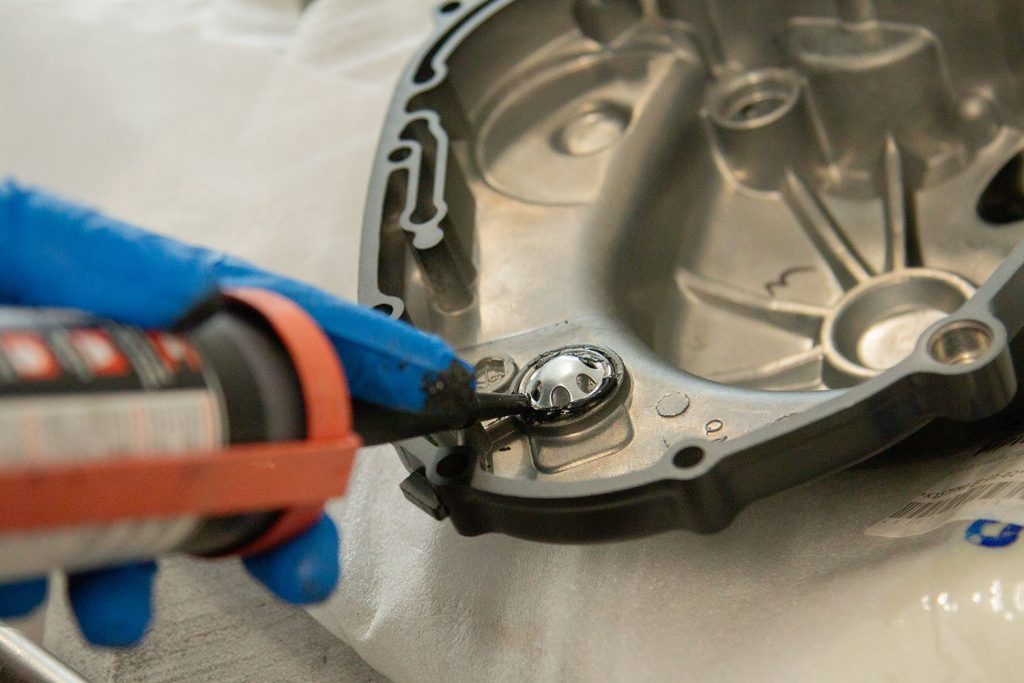
We fitted the sightglass in place, then used a bead of silicon to seal it.
We fitted a new clutch cover gasket, then went about sorting the clutch cover itself.
The threaded rods in the old case weren't budging, so we decided to hack the head off a couple of M8 bolts with a Dremel to replace them. It worked like a charm!
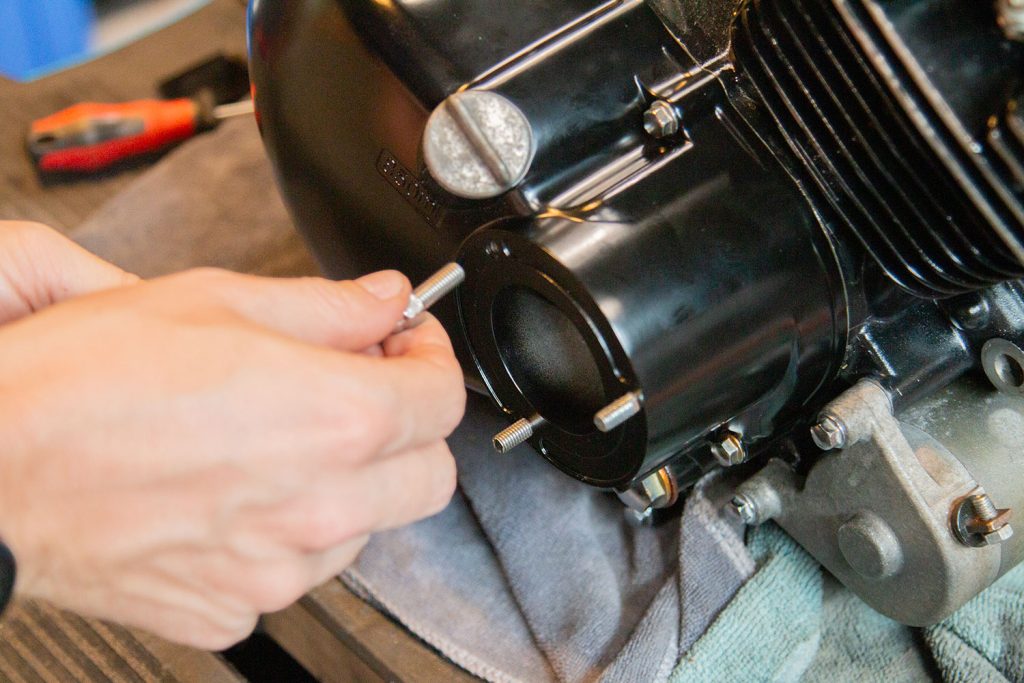
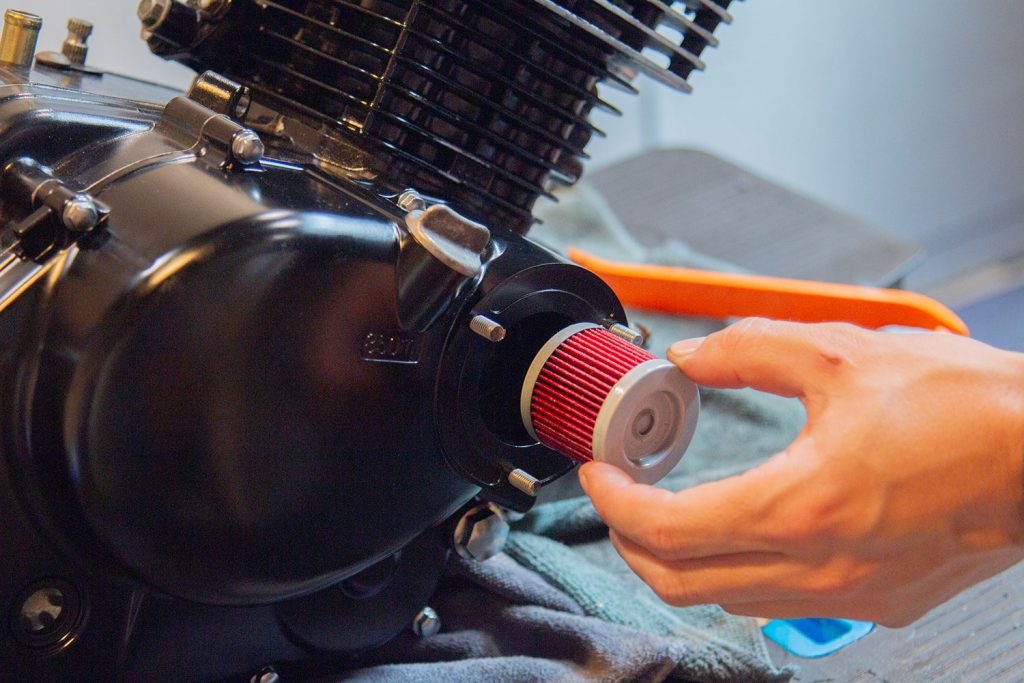
With that done, we could fit a new oil filter and put the filter cover back on.
That looks a heck of a lot better. Now, for the alternator side...
Alternator Cover
For this side, Oli decided to paint it. He scuffed the original paint up with a course abrasive pad.
He used some Simoniz Engine Enamel to paint the cover - it's a bit more glossy than the rest of the engine paint, but it'll do. Perhaps we could knock the shine back a bit with a fine abrasive pad...or leave it be.
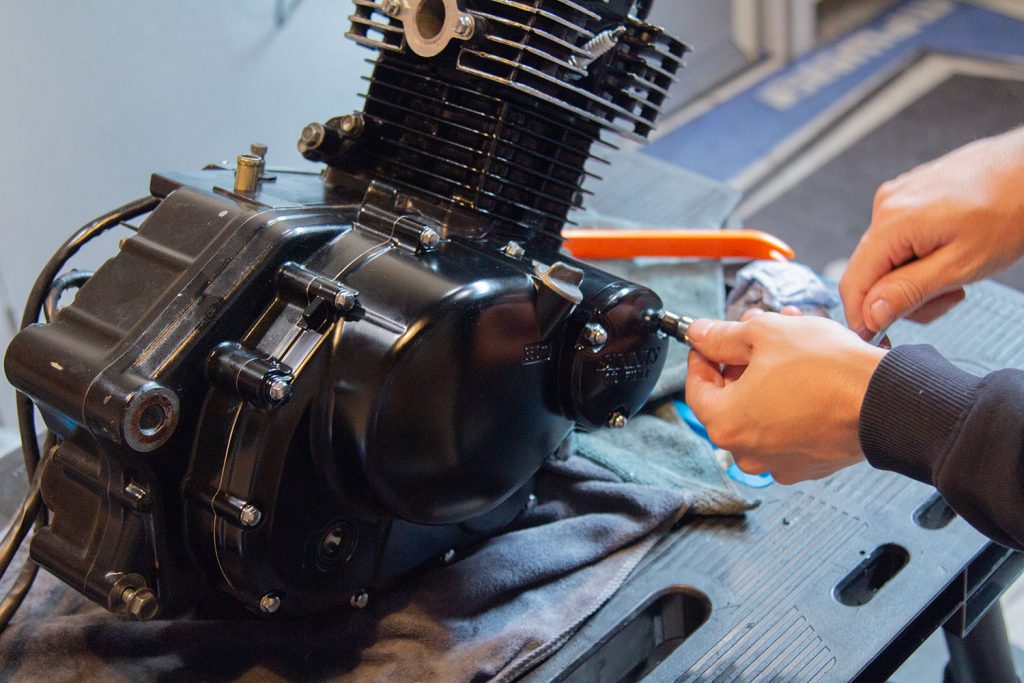
Chasing the exhaust stud threads
The thread on one of the manifold stud holes had taken a battering, so we chased it with a tap and ran the exhaust bolt all the way in to ensure the threads had been cleaned up sufficiently.
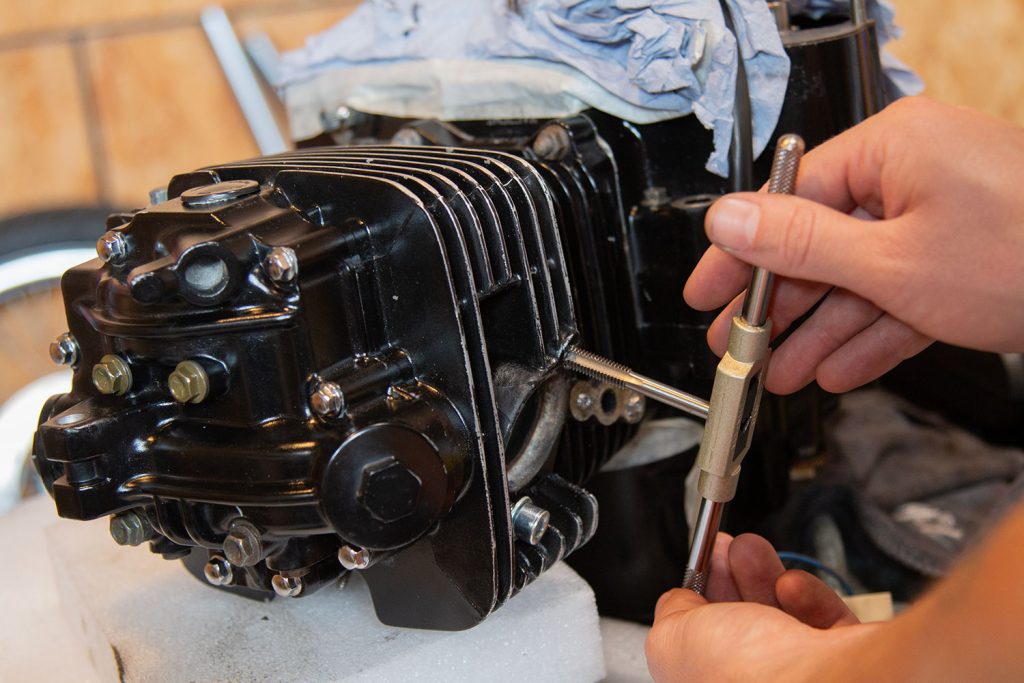
It pays to be very careful when starting out with a tap - it's incredibly easy to mangle the threads even more! You need to be 100% certain that you are square in the hole, or you're going to have a bad day!
With the exhaust bolt running in fairly smoothly, we called that acceptable and moved on!
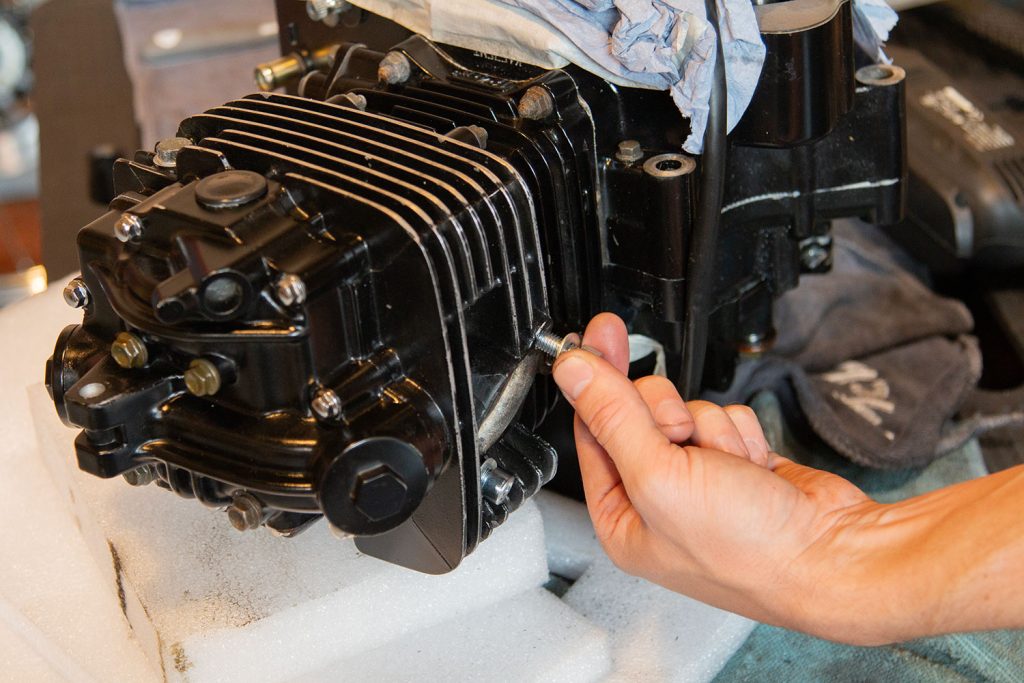
Replacement Bolts
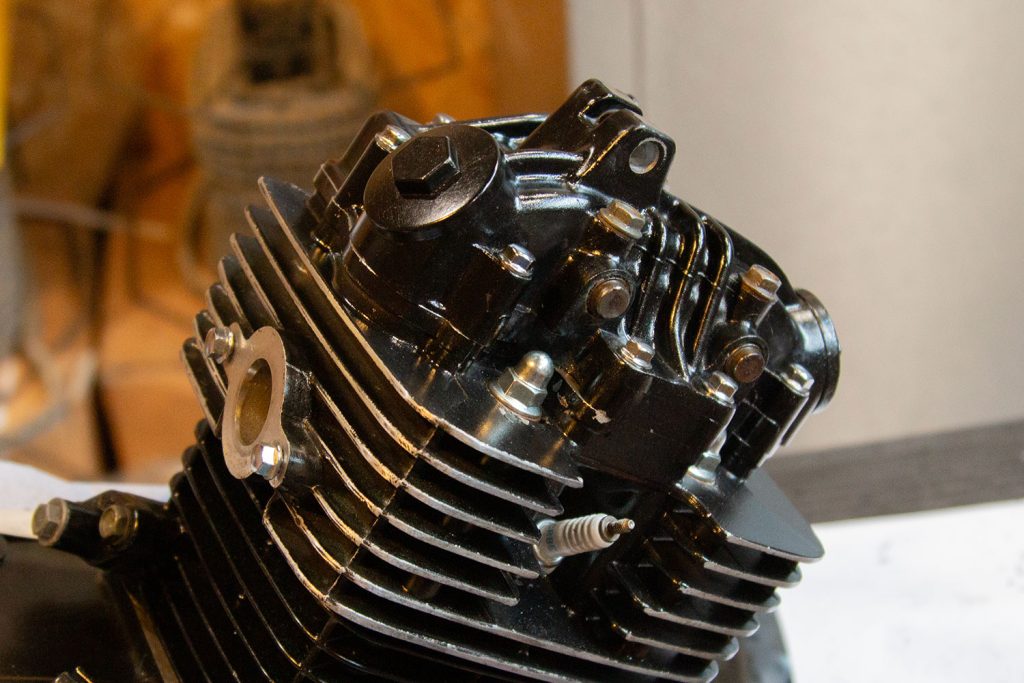
Some of the bolts on the cylinder head looked especially grotty - Oli swapped out all of the cylinder head dome nuts for new ones. They look infinitely better.
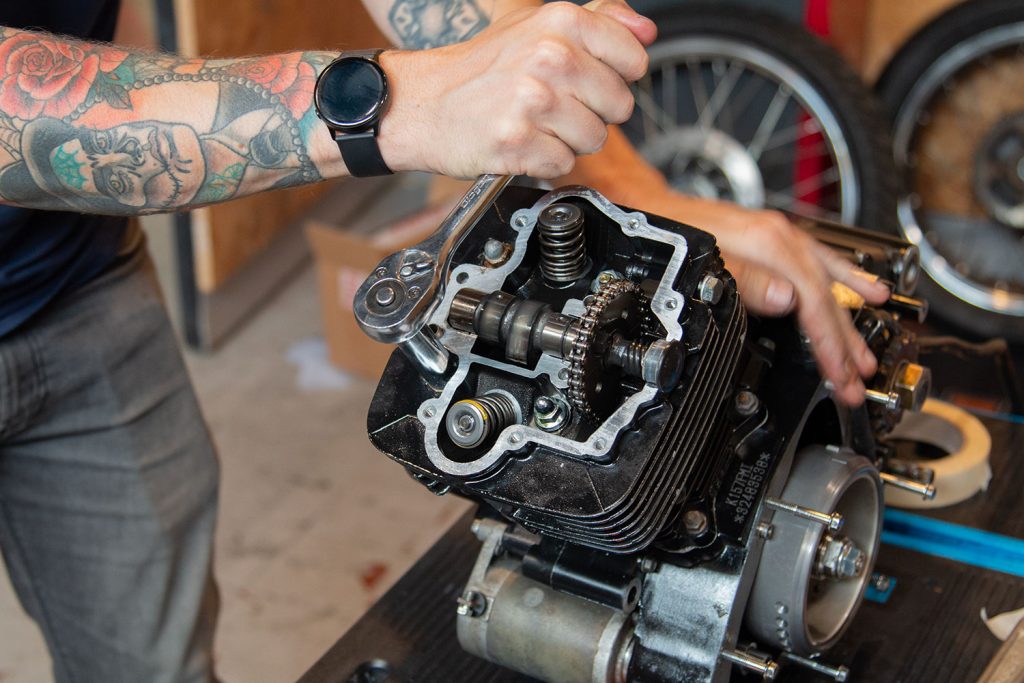
Obviously in order to access these nuts, the valve cover had to come off! With all that done, the engine looks a lot better - ready to throw into the frame now!
Next Steps
In the next installment, we will be getting our rolling chasis together! Don't forget to catch up on all our other posts in the Road to Revival series.
